
Converting a basement into a stylish, functional living space is one of the most rewarding home improvement projects a homeowner can undertake. However, subterranean design presents a unique set of challenges compared to above-grade remodeling. Far too often, design enthusiasts fall into the trap of focusing solely on the cosmetic elements—choosing wall colors, picking out soft leather sofas, and browsing light fixtures—before properly addressing the physical realities of the space. Ignoring the underlying masonry, mechanical systems, and environmental conditions will inevitably lead to costly structural failures, ruined furnishings, and wasted investments.
A truly successful basement transformation requires a holistic approach where structural integrity and interior design work in tandem. Rather than viewing foundation walls, utility lines, and climate control equipment as unsightly obstacles to be hidden away behind drywall, sophisticated design treats these elements as foundational assets. By addressing moisture, air quality, mechanical routing, and architectural flow from the very beginning, you create a resilient canvas where high-end decor can flourish indefinitely.
Securing the Sub-Grade Envelope
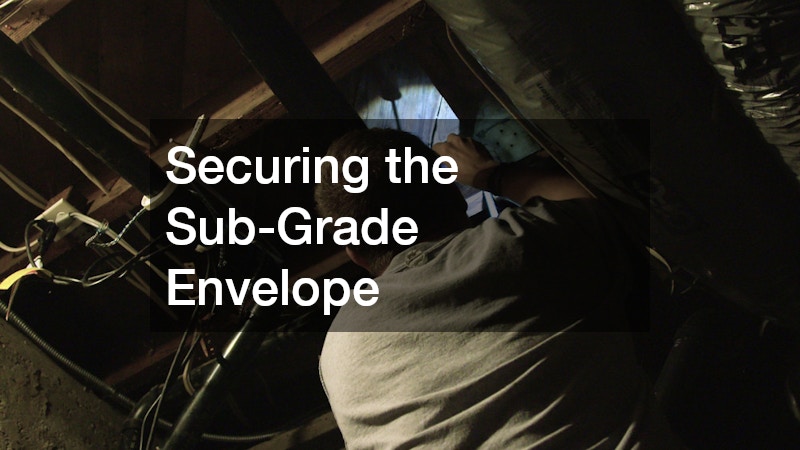
The longevity of any basement renovation hinges entirely on keeping water out. Because basements sit below the water table, foundation walls are under constant hydrostatic pressure. Uncontrolled moisture will rapidly ruin framing, swell baseboards, and destroy delicate soft furnishings. Before hanging a single sheet of drywall or positioning decorative accent pieces, you must rigorously evaluate and secure the structural envelope of your home.
Testing for moisture dynamics requires a proactive, methodical approach before introducing wood or fabric into the lower level:
- Perform a baseline foil test by taping 12-inch squares of aluminum foil to various sections of exposed concrete for 48 hours. If condensation forms on the room side of the foil, high indoor humidity is the primary culprit; if moisture accumulates beneath the foil, water is actively penetrating the foundation wall.
- Inspect perimeter drainage systems and clear exterior gutters to ensure surface runoff is diverted at least six feet away from the foundation edge.
- Examine interior masonry for efflorescence—a white, powdery crystalline deposit that indicates water evaporation through concrete pores.
- Check for hairline cracks along foundation walls using a plastic card or feeler gauge to determine if structural settlement is actively occurring.
Addressing deep-seated moisture requires specialized intervention rather than simple paint-on sealants. Partnering with local basement waterproofing contractors ensures that hydrostatic pressure is managed correctly through interior perimeter drain tiles, sump pumps, or exterior elastomeric membranes. Once the sub-grade envelope is fully fortified against groundwater intrusion, the dry concrete walls become an authentic design feature. Sealed, dry masonry can be thoughtfully left exposed to create a textured, industrial-rustic accent wall that anchors a contemporary media room or wine cellar.
Building a secure foundation envelope also involves safeguarding the hidden network of supply lines and drainage pipes embedded within concrete slabs and joist spaces. Even a microscopic leak in a supply line can saturate subflooring and ruin custom cabinetry long before visible pooling occurs on the finished floor.
Conducting a thorough utility audit ensures long-term peace of mind:
- Map all secondary plumbing runs and overhead drainage paths before closing in ceilings or building soffits.
- Schedule a non-destructive inspection using water leak detection services to scan unexposed pipes with acoustic sensors and thermal imaging technology.
- Isolate main supply shutoff valves and integrate smart water shutoff systems that trigger automatically if pressure drops occur.
- Install smart moisture sensors near hidden water junction points that send real-time alerts directly to your smartphone.
Proactively securing these supply paths protects your high-end decorative investments, allowing you to install custom built-ins, hardwood wall paneling, and delicate wall coverings without the looming threat of hidden water damage.
Sanitizing and Atmosphere Prep
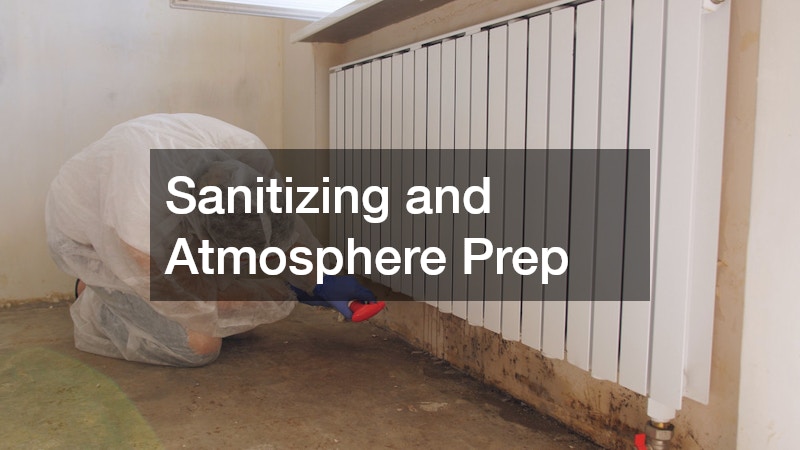
Once the physical barrier against water is secure, the next critical step is ensuring the internal atmosphere is completely sanitized. Basements inherently collect stagnant air, dust, and microscopic organic spores due to low natural light and reduced ventilation. Introducing brand-new drywall, trim, and upholstered furniture into an environment with elevated spore counts creates an ideal breeding ground for biological growth, leading to persistent, musty odors that undermine even the most luxurious interior design.
Prior to introducing framing materials, a rigorous atmospheric assessment must be conducted throughout the subterranean space:
- Measure baseline relative humidity using calibrated hygrometers; levels should consistently remain below 50 percent prior to construction.
- Examine raw sill plates, rim joists, and concrete floor joints where organic debris naturally accumulates.
- Engage certified specialists to conduct a comprehensive mold inspection to sample indoor air quality and identify invisible, dormant spore clusters behind existing framing or insulation layers.
- Inspect any existing fiberglass insulation batts for dark discoloration or musty dampness, as trapped moisture in insulation can conceal active growth.
A clean environmental report acts as an insurance policy for your interior decor. Verifying pristine air quality allows you to confidently introduce organic decorative elements, such as raw timber open shelving, natural linen drapes, and plush wool area rugs, knowing they will remain fresh and free from embedded odors.
If tests reveal elevated spore counts or localized microbial activity, surface-level scrubbing with standard household cleaners is insufficient. Dormant spores embedded deep within porous concrete or structural framing must be permanently eliminated before sealing those areas behind wall assemblies.
A comprehensive atmospheric cleanup involves specific containment and abatement steps:
- Isolate the lower level using plastic sheeting and negative air pressure machines to prevent spores from migrating into upper living areas during cleanup.
- Utilize professional mold remediation services to execute deep HEPA vacuuming, antimicrobial surface wiping, and air scrubbing using commercial filtration units.
- Apply specialized vapor-permeable antimicrobial primers to timber joists and masonry surfaces to prevent future spore germination.
- Replace damaged or organic structural materials with inorganic, mold-resistant options such as paperless drywall and cement-based backer boards.
Remediating existing biological growth guarantees that the air circulating throughout your finished basement is clean, crisp, and safe. A healthy air profile protects high-value textiles, velvet seating, and fine art, ensuring that the visual luxury of your space is matched by a fresh, comfortable atmosphere.
Masonry Surface and Flooring Integration
The concrete floor slab is often viewed as cold, utilitarian, and uninviting. However, with proper mechanical preparation, a subterranean slab can be transformed into one of the most striking visual elements of the entire home. Before any specialized finish or decorative topping can be applied, the raw concrete surface must be brought to a sound, pristine condition.
Preparing an existing concrete slab demands aggressive cleaning and mechanical profiling:
- Remove all lingering adhesives, carpet backing, paint overspray, and laitance using heavy-duty diamond grinding or scarifying equipment.
- Fill and micro-dowel structural slab cracks with high-strength structural polyurea fillers to prevent movement from telegraphing through finished surfaces.
- Deploy indoor-safe pressure washing services equipped with high-efficiency vacuum recovery systems to thoroughly strip away micro-dust, efflorescence, and ground-in grime without flooding the floor.
- Verify slab dryness post-prep using a relative humidity pin meter to ensure moisture vapor emission rates fall within allowable coating tolerances.
Achieving a perfectly clean, porous surface allows modern floor coatings to fuse permanently with the concrete substrate, laying the groundwork for a durable, high-impact decorative floor.
With a fully prepped slab, you can turn an uninspired floor into a stunning architectural centerpiece that sets the tone for the entire lower level. High-performance resinous coatings offer an exceptional blend of durability, water resistance, and aesthetic versatility.
When choosing and applying a high-end floor coating, consider these strategic design choices:
- Apply seamless epoxy flooring infused with metallic pigments or quartz flakes to create a continuous, light-reflective surface that brightens dark spaces.
- Opt for soft, neutral tone bases—such as charcoal, warm platinum, or champagne—to visually expand the floor plan and harmonize with warm furniture tones.
- Incorporate a clear polyaspartic topcoat with a slight slip-resistant aggregate to enhance safety while maintaining a high-gloss, liquid-like depth.
- Extend the resin floor coating 4 to 6 inches up the base of perimeter walls to create an integrated, seamless cove base that simplifies cleaning and blocks water migration.
Reflective, seamless resin floors act as giant light bounces, reflecting overhead ambient light into every corner of the room. This dramatic visual effect instantly elevates low-ceilinged spaces, creating a sleek, gallery-like foundation that pairs beautifully with minimalist furniture, leather seating, and exposed structural elements.
Mechanical and Utility Concealment
Basements serve as the nervous system of the home, housing complex networks of waste stacks, water lines, main electrical panels, and heavy HVAC ductwork. Simply building dropped ceilings or random boxy soffits around these utilities often results in awkward visual breaks, low head clearance, and choppy floor plans. The key to sophisticated design is re-engineering and organizing these mechanical systems so they naturally integrate into the room’s architectural layout.
Streamlining plumbing infrastructures requires smart spatial planning before framing begins:
- Consolidate vertical waste pipes and main water lines into centralized utility chases that double as natural room dividers or thick decorative archways.
- Work alongside a reputable plumbing company to trench and re-route sub-slab drainage lines, allowing for optimal placement of wet bars, guest bathrooms, or laundry facilities.
- Install backwater valves and silent check valves on sump discharge lines to prevent unwanted mechanical noise from disrupting quiet living areas.
- Wrap all exposed cold-water supply pipes with closed-cell foam insulation to prevent surface condensation from dripping onto finished ceiling panels.
Strategic plumbing placement allows for flush, seamless cabinetry layouts, custom bar setups, and open-concept floor plans that hide necessary plumbing stacks behind intentional, elegant design features.
Similarly, heavy overhead ductwork poses a major threat to basement headroom and visual symmetry. Rather than building jagged, off-center soffits around low-hanging supply lines, mechanical runs should be restructured to work alongside your lighting and ceiling design.
Optimizing mechanical ventilation requires clear coordination between design and functionality:
- Map primary supply and return trunks so they run parallel to structural floor joists whenever possible, keeping ceiling heights maximized across main living zones.
- Hire a qualified HVAC company to replace bulky rectangular metal ducts with compact oval ductwork or high-velocity flexible lines that require far less vertical space.
- Frame overhead soffits symmetrically across the room, using the lowered ceiling areas to host recessed accent lighting, perimeter LED strips, or built-in speakers.
- Install acoustic sound-dampening insulation around enclosed ductwork to minimize airflow turbulence and mechanical vibration noise throughout living zones.
By converting necessary mechanical enclosures into intentional architectural elements, drop soffits shift from being visual disruptions to functional design highlights that frame seating areas and add geometric depth to the ceiling plane.
Microclimate and Architectural Flow
Maintaining a consistent, comfortable temperature in a subterranean space requires specialized climate strategies. Because surrounding soil maintains a cool, constant temperature year-round, basements experience different heating and cooling loads than upper levels. A basement that feels damp, drafty, or overly chilly will remain underutilized regardless of how beautifully it is decorated.
Achieving superior thermal comfort requires tailored climate solutions:
- Zoning the lower level independently from the rest of the house so temperature settings can be adjusted based on specific subterranean usage patterns.
- Partnering with local technicians offering expert ac services to integrate dedicated ductless mini-split systems or inline supplemental heating coils tailored to sub-grade loads.
- Installing a commercial-grade, whole-home dehumidification unit integrated directly into the return duct system to continuously draw out moisture quietly.
- Installing radiant floor heating loops beneath tile or stone areas to eliminate floor coldness and promote even thermal distribution from the ground up.
Maintaining consistent climate control protects expensive decorative investments, including solid timber furniture, custom wall moldings, and delicate acoustic panels, from expanding, contracting, or warping due to seasonal temperature shifts.
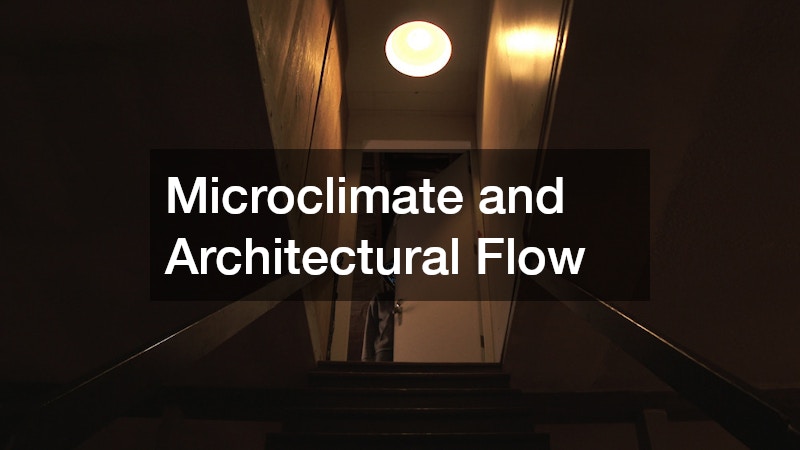
Finally, the transition from the main level down into the basement dictates how inviting the space feels. A dark, narrow staircase with cheap railings reinforces the feeling of descending into a subterranean cellar. To make the lower level feel like a natural extension of the primary home, the staircase must be treated as a prominent design feature.
Upgrading your home’s vertical transit involves several key design enhancements:
- Remove non-load-bearing side walls around the stairwell to open sightlines from the main level directly into the lower living space.
- Commission custom stairs and railings featuring floating hardwood treads, minimal steel posts, or clear tempered glass panels to maximize light transmission.
- Install low-voltage step lights along the stringers or beneath tread overhangs to guide movement and add dramatic visual interest at night.
- Incorporate under-stair built-in storage drawers or an open reading nook to maximize every square inch of vertical transit footprint.
A beautifully crafted, open staircase draws natural light down from upper floors, visually connecting the levels and enticing guests down into an inviting, expertly engineered, and masterfully decorated living space.
Transforming a basement into a luxurious living space requires balancing structural integrity with refined interior design. When you prioritize structural waterproofing, thorough atmospheric sanitization, precision slab preparation, and strategic mechanical integration, you eliminate the functional vulnerabilities that often compromise sub-grade renovations.
Treating foundation walls, floor slabs, and utility runs as foundational design opportunities rather than obstacles creates a space that is as durable as it is beautiful. By executing these structural preparation phases with precision, your subterranean retreat will offer exceptional comfort, pristine indoor air quality, and timeless style.